
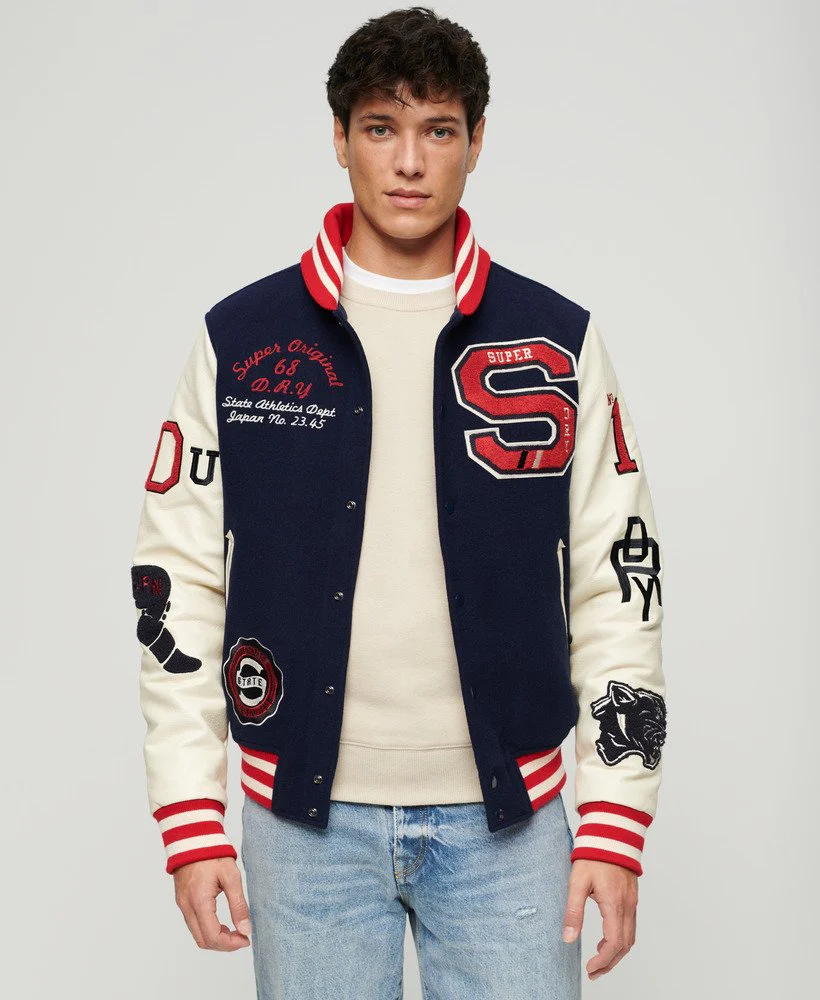
A varsity jacket would be unique from the rest of the clothing apparel due to its unique design; whereas the rest of the leather jackets lack initials, numbers, logos, and a number of additional designs, this particular one has all of them. It creatively symbolizes the spirit of your school or team loyalty. By its uniqueness, it also creates a unique fashion statement.
Table of Contents
Decorating your varsity jacket with playful patches and embroidery could be an excellent idea for personalizing it and highlighting your personality, achievements, or interests.
Here is a simple, but fun, guide to patching and embroidering your varsity jacket, with some of the steps broken up.
Patch Designing
You should know that the most popular method of personalizing your varsity jacket is by patches. Patches are easy to apply and even easier to change. Patchwork is also a very adaptable method of personalizing your jacket. That is, varsity jackets with patches offer a very functional method of decoration. The reason for this is that you are able to customize them to your specifications. They reflect an athlete or student’s achievements precisely.
Additionally, you can always match the color of your patches to the underlying color of your jacket. However, in the event that you are short on time and desire a pre-existing varsity jacket, AU LeatherX will never disappoint. This website boasts an extensive array of varsity jackets with incredible patchwork and embroidery.
Step 1: What You Need
Prior to beginning, make sure you have anything you might require. Below is a quick checklist:
- Varsity jacket.
- Patches (sew-on, iron-on, or embroidered).
- Embroidery materials (embroidery thread, needle, embroidery hoop, and fabric marker).
- Iron (for iron-on patches).
- Sewing kit or a sewing machine.
- Scissors.
- Fabric glue.
Step 2: Plan Your Design
Plan out your design first before you begin to sew on embroideries or patches. Place the jacket flat on a clean area, and then the patches onto the jacket to get an idea of what will look best. Take a picture of your design so you will not forget where to put things. If you are embroidering, lightly mark the design on the jacket with a fabric marker.
- Insert patches on the sleeves to make it sporty.
- Stamp a mark or your initials on the chest.
- Create a patchwork collage on the back.
Step 3: Apply the Patches
There are three fundamental techniques used in applying patches onto a varsity jacket: iron-on, sew-on, and glue-on. The following are the step-by-step procedures for each:
How to Apply Iron-On Patches:
- Place the patch wherever you desire on the jacket.
- Cover the area with a light cloth or towel to protect it from direct exposure to heat.
- Heat your iron to medium-high (no steam).
- Press the iron down hard over the patch for 20-30 seconds.
- Let it cool down, and then check its position. If it falls off, repeat.
How to Apply Sew-On Patches:
- Put the patch in place on the jacket and pin.
- Thread your needle with matching thread and knot the end.
- Use a simple running stitch or whipstitch around the edges of the patch.
- Secure the thread with a knot once you’re done.
- Sewing patches is more time-consuming but provides a stronger hold, especially for jackets you’ll wear often.
How to Apply Glue-On Patches:
- If you’re short on time or don’t want to iron or sew, fabric glue works too.
- Apply fabric glue to the back of the patch.
- Stick it on the jacket and leave it for a few seconds.
- Leave it to dry totally before wearing.
- Fabric glue is easy to use but tends to last shorter than sewing or ironing.
Embroidery Designing
Embroidery is a classic way to decorate your varsity jackets. It’s also the most resilient technique to decorate your clothing. Embroidery may help you achieve any goal, from showcasing your achievements to making your jacket fashionable. Manufacturers typically use embroidery to produce a striking design for your jacket. Ultimately, it is more durable and permanent than patches. Additionally, embroidery offers your varsity jacket design a smoother touch. The nicest aspect is that it won’t come off.
How to Do It
If one wants to add a personal touch other than using patches, embroidery is the best way to go. Here is a simple step-by-step guide to embroidering a varsity jacket:
- Place your jacket inside an embroidery hoop so that the fabric is kept taut.
- Draw your design on the jacket using a fabric marker.
- Thread your embroidery needle with thread and secure the end.
- Work in basic stitches like a backstitch for outline lines, or satin stitch for filling shapes.
- Work slowly and sew carefully so that the stitches are close and neat.
- Once done, tie the thread within the jacket and cut off any leftover material.
Final Thoughts
This is an exciting and highly rewarding process in making it personal, with patches and embroidery, and creating your version of the men’s varsity leather jackets. With its spirit for your school, showing interest, or looking forward to changing your style, such DIY work will be priceless to do. Take your time and plan the design ahead and enjoy the process mainly! Happy crafting!